Table of Contents
Acquiring new shrimp or fish for your aquarium is a thrilling experience, but introducing them to their new home can be stressful for both you and your aquatic pets. A sudden change in water parameters, such as pH or temperature, can lead to shock, stress, or even fatality. That’s why drip acclimation is a lifesaving process, ensuring your new arrivals adapt seamlessly to their environment.
In this comprehensive guide, you’ll learn the 7 easy steps for drip acclimating shrimp and fish while preserving their health and vitality. Whether you’re a seasoned aquarist or a beginner, this process will help you maintain a thriving, harmonious tank.
Why Drip Acclimation Matters
Introducing shrimp and fish to a new tank isn’t as simple as pouring them into the water. The parameters in your aquarium such as temperature, pH, and salinity may differ significantly from the water in the transport bag. Without a gradual transition, these differences can lead to:
- Osmotic shock, where changes in salinity or pH stress the organisms.
- Respiratory distress, as temperature variations affect oxygen levels.
- Weakened immunity, making your aquatic pets susceptible to disease.
Drip acclimation is a slow, controlled method of blending the two water types, ensuring your shrimp and fish transition smoothly.
What You’ll Need for Drip Acclimation
Before diving into the process, gather the following essential tools:
- Aquarium-safe tubing – Silicone tubing works best for siphoning water.
- A container or bucket – Use a clean, designated container to hold the shrimp or fish during acclimation.
- Clamp or suction cup – To secure the tubing and control water flow.
- Flow regulator – A small valve or a simple knot in the tubing can adjust the drip speed.
- Water testing kit – Optional but helpful for monitoring temperature, pH, and salinity.
Prepping Your Aquarium
Ensure your tank is a welcoming, stable environment for its new inhabitants:
- Temperature: Maintain the ideal range for your species. Use a reliable aquarium heater or chiller if needed.
- pH: Test and stabilize the pH, avoiding drastic swings.
- Nitrogen cycle: Confirm ammonia and nitrite levels are at zero and nitrate levels are within safe limits.
- Salinity: For saltwater tanks, use a hydrometer or refractometer to ensure salinity matches your species’ needs.
Step-by-Step Guide to Drip Acclimation
Step 1: Prepare the Acclimation Area
Designate a clean, well-lit space near your aquarium. Arrange your tools and ensure your hands are clean to prevent contamination.
Step 2: Transfer Shrimp or Fish to a Temporary Container
Carefully open the transport bag and pour its contents, including water, into your container. Minimize handling to reduce stress, especially for delicate species like shrimp.
Step 3: Set Up the Drip Line
- Place one end of the tubing in your aquarium and secure it with a clamp or suction cup.
- Start a siphon by gently sucking on the other end until water begins flowing.
- Adjust the flow to 2-4 drips per second by tying a small knot or using a flow regulator.
Step 4: Introduce Aquarium Water Gradually
Allow the aquarium water to mix with the transport water in the container. This gradual dilution should last 1-2 hours, depending on the sensitivity of your species.
Step 5: Monitor the Process
During acclimation, keep an eye on:
- Behavioral changes: Look for signs of stress like erratic swimming or inactivity.
- Water parameters: Use your testing kit to ensure compatibility.
Step 6: Transfer to the Aquarium
Once the water in the container matches the parameters of your tank, gently net the shrimp or fish and place them in their new home. Avoid transferring the container water into the tank to prevent contamination.
Step 7: Observe and Adjust
After the transfer, dim the tank lighting to reduce stress and spend some time observing your new additions. Look for signs of comfort, like active exploration or feeding.
Common Mistakes to Avoid
- Rushing the process: Acclimation takes time, so resist the urge to speed it up.
- Mixing transport water with tank water: This can introduce unwanted contaminants.
- Ignoring stress signals: If your shrimp or fish show signs of distress, slow the drip rate or pause the process briefly.
Quick Reference: Ideal Water Parameters for Popular Species
| Species | Temperature (°F) | pH Range | Salinity | Notes |
|---|---|---|---|---|
| Cherry Shrimp | 72-78 | 6.5-7.5 | N/A | Hardy and beginner-friendly. |
| Amano Shrimp | 68-78 | 6.0-7.0 | N/A | Excellent algae cleaners. |
| Betta Fish | 75-80 | 6.8-7.5 | N/A | Solitary, avoid tankmates. |
| Clownfish | 72-78 | 7.8-8.4 | 1.020-1.025 | Popular saltwater species. |
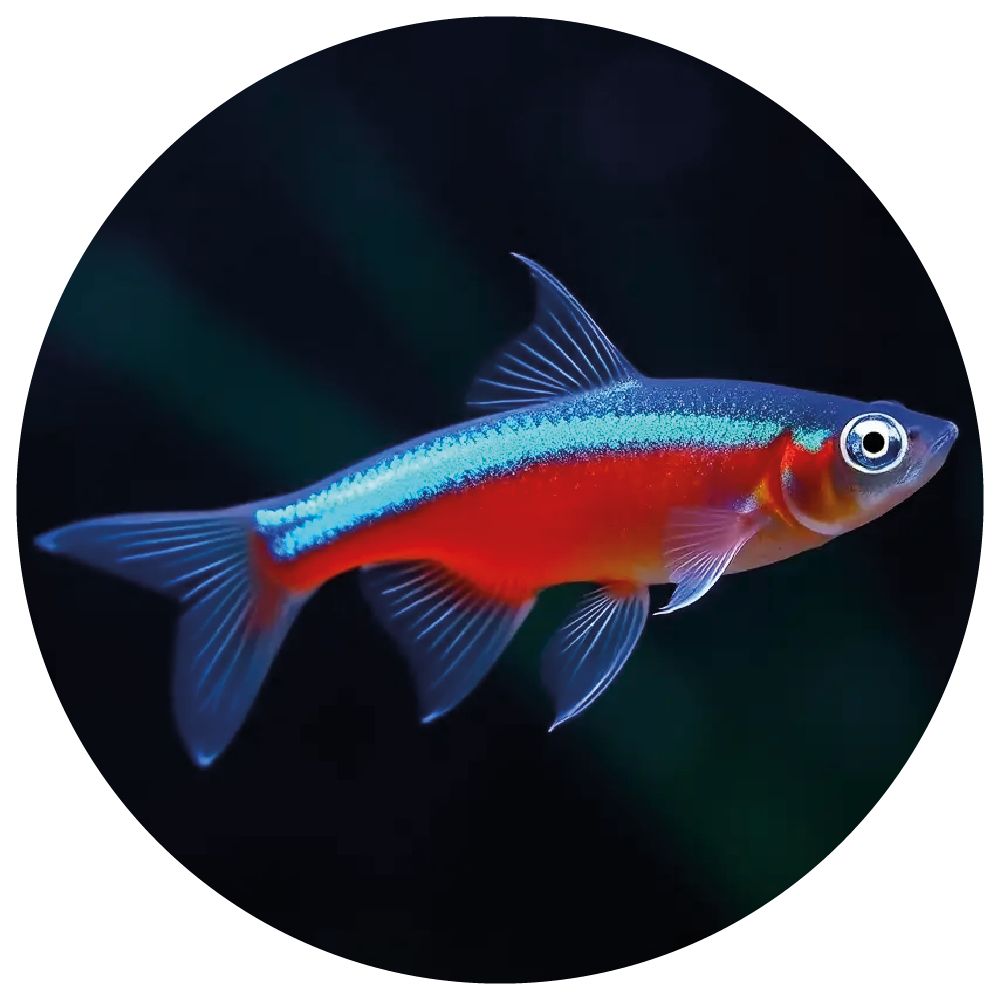
| Neon Tetra | 70-81 | 6.0-7.0 | N/A | Thrive in small schools. |
Frequently Asked Questions
Why is drip acclimation important for shrimp and fish?
Drip acclimation minimizes stress by gradually adjusting shrimp and fish to your tank’s water conditions, ensuring their survival and long-term health.
How long does drip acclimation take?
The process typically lasts 1-2 hours, though sensitive species may require more time.
Can I use the water from the transport bag in my tank?
No, transport water often contains waste and harmful bacteria that could compromise your tank’s ecosystem.
What should I do if my shrimp or fish seem stressed after acclimation?
Dim the lighting, monitor water parameters, and ensure there’s plenty of hiding spots to help them settle.
Is drip acclimation necessary for all species?
While some hardy species may tolerate quicker acclimation, sensitive shrimp and fish always benefit from this method.
Conclusion: Patience Pays Off
Taking the time to properly acclimate your shrimp and fish ensures they start their new life in your aquarium on the right foot or fin. Not only will this reduce their stress, but it will also promote a healthier, more vibrant tank overall.
Now that you’ve mastered these 7 easy steps, you’re well-equipped to give your aquatic pets the gentle welcome they deserve. Ready to take the plunge? Start drip acclimating your next tank addition today and witness the difference it makes!